Here's the first installment of my periodic .bzw tutorials. In this tutorial I'll show you how I make craters for my BZFlag maps. I have the Outliner window to the right of the Geometry window. Go to Window -> Outliner to get it. You can click on any image to view a bigger one. The final .bzw file can be found here.
Step 1.

Make a cube, scale it, cut the top edge into three pieces and connect them

Select the new face and Contour it

Contoured

Contour it again to make the crater floor

Move the face down the Y axis a little

File -> Import Image -> and find wall.png

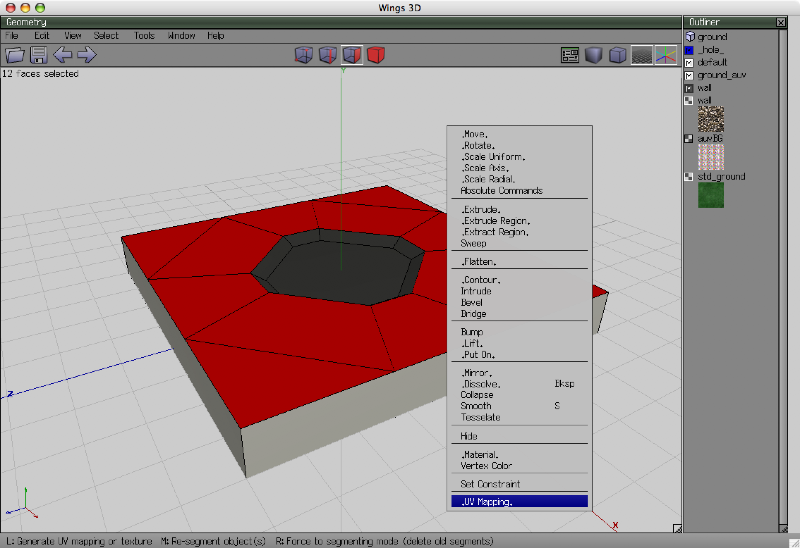
Select the crater, and go to UV Mapping

Put the crater faces in AuvChart1

Continue -> Projection Normal. Drag your wall.png texture onto the blocks of letters

Scale the crater and move it over a rock

Exit out of UV Mapping and make a new material...

...name it "wall" and give it a grey color

Select the crater faces and Material -> wall
Import the std_ground.png image, select the remaining faces and UV Map them the same way we did the wall.png

Make a green colored "std_ground" material, and apply it to the grassy faces

In line select mode, select all and Hardness -> Hard

Select the lines on the sloping part of the crater and Hardness -> Soft

File -> Export -> Wavefront (.obj). Use Model Tool to convert to .bzw. Open in a text editor and add texture paths, definition, and a group.

And that's how I make craters. You can add them just about anywhere, the general principle is the same. You can also add more points to the crater slope to make it round, or scale it in different axes to make it oblong. It's also a good idea to Flatten the floor of the crater in the Y Axis to make sure tanks can drive on it.
 |
|